Workshop: Flower hammering fun
- Abigail Twigg

- Jul 30, 2023
- 3 min read
Updated: Feb 12, 2024
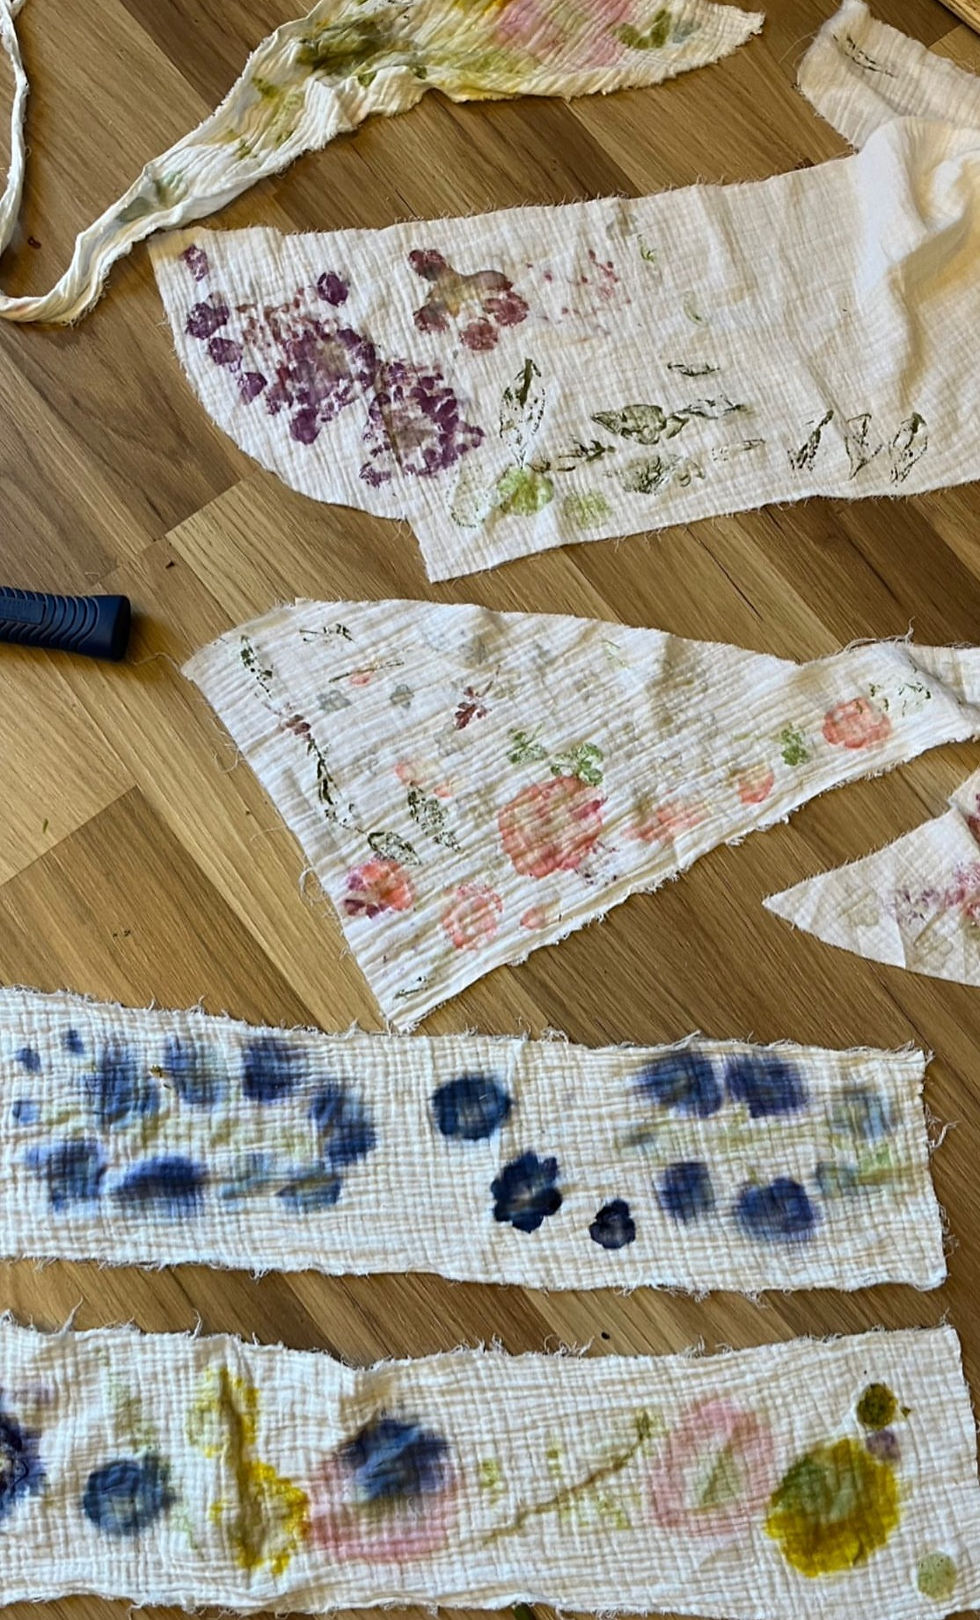
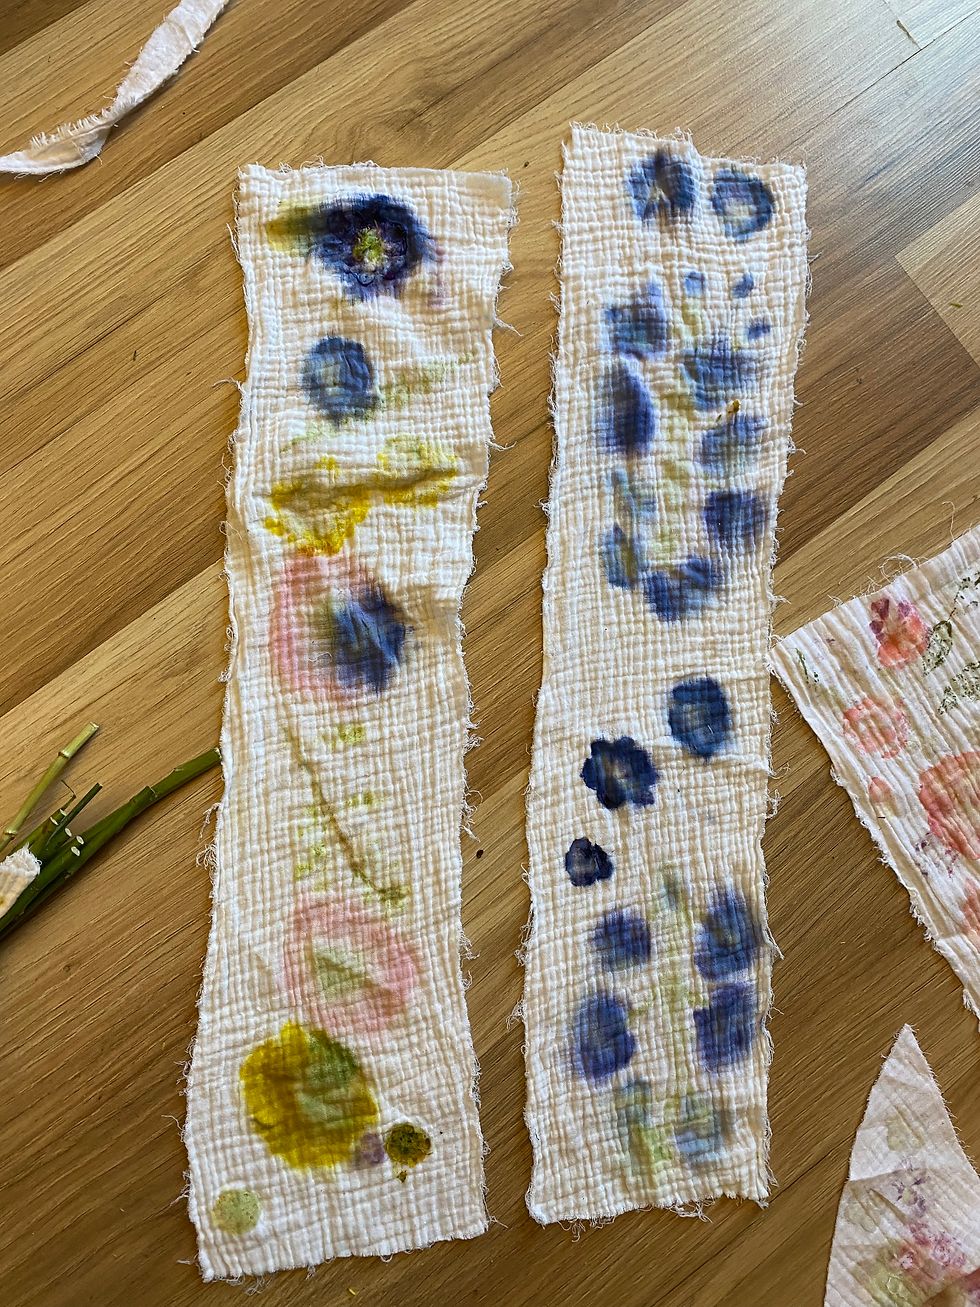
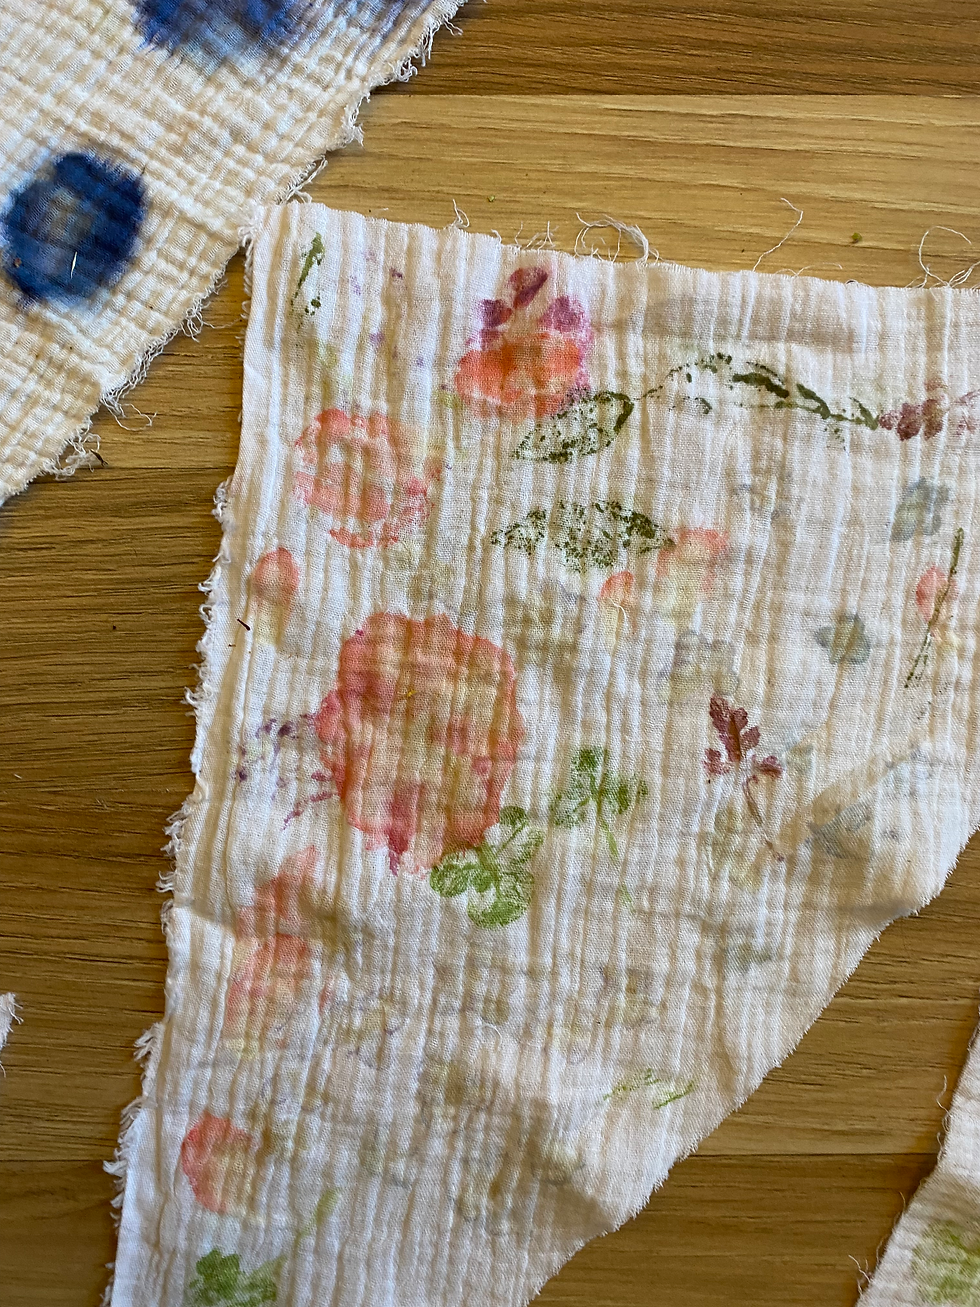
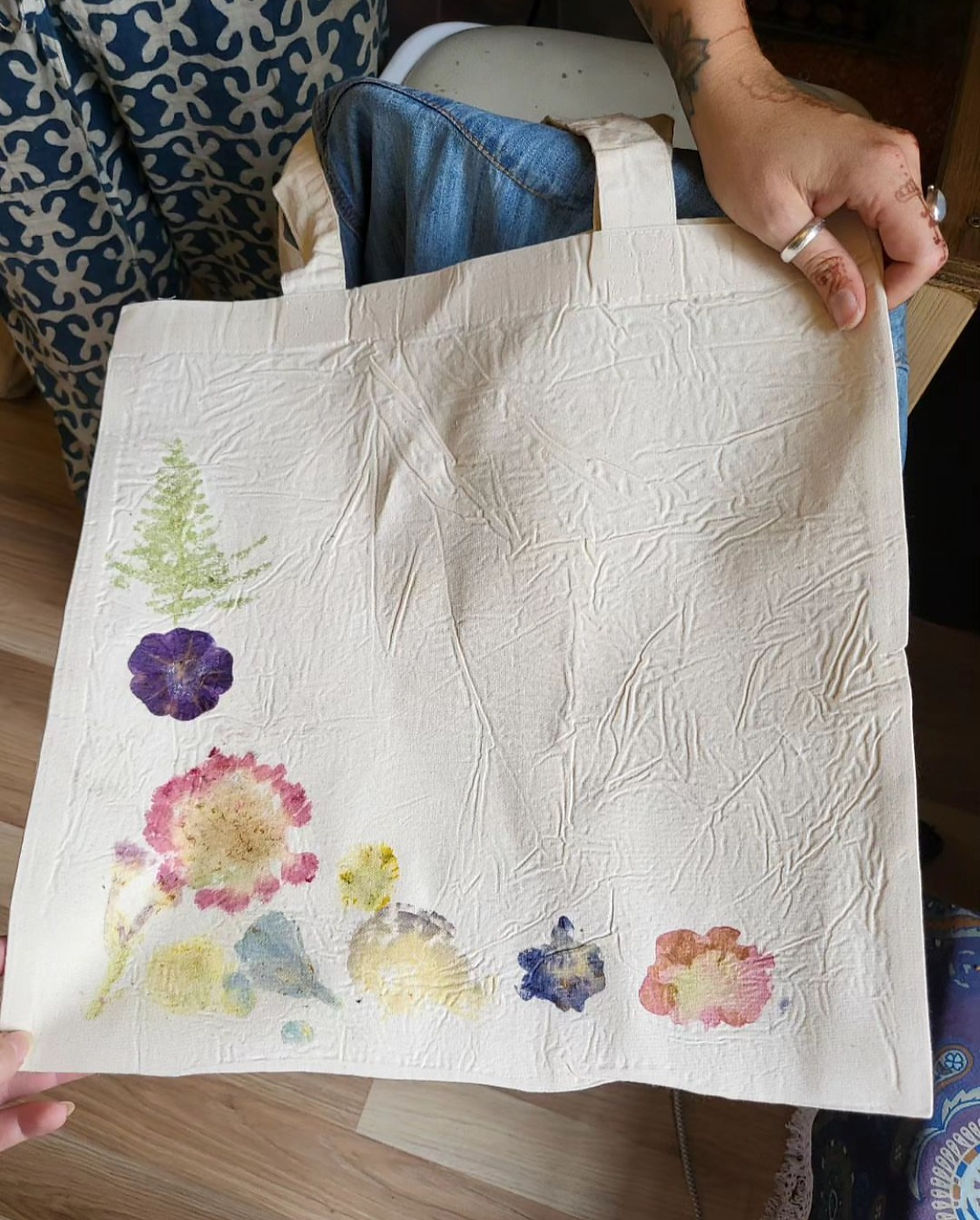
We had a great time this week hosting an intimate flower pounding workshop for some friends of the charities I work with. This was a sample workshop to get to grips with the techniques, experiment & work out what worked! (and what didn't!) This is a great creative practice as it really helps you to get into the flow state as the results are relatively unpredictable - & you get to hammer out your frustrations! Flower pounding, also known as flower hammering, is a beautiful technique that transfers the natural pigments from flowers and leaves onto fabric. It's a fun and creative way to create unique patterns and designs. Here's a step-by-step guide to conducting a flower pounding workshop onto fabric:
Materials you'll need:
1. Fresh flowers and leaves with vibrant colors
2. Natural fabric (such as cotton or linen) in the desired size and shape (prewashed and ironed)
3. Hammer
4. Cutting board or hard surface
5. Parchment paper or wax paper
6. Masking tape or painter's tape
7. Scissors
8. Cardboard or heavy paper for pressing
9. Optional: Protective gloves and apron
Step 1: Prepare the flowers and leaves
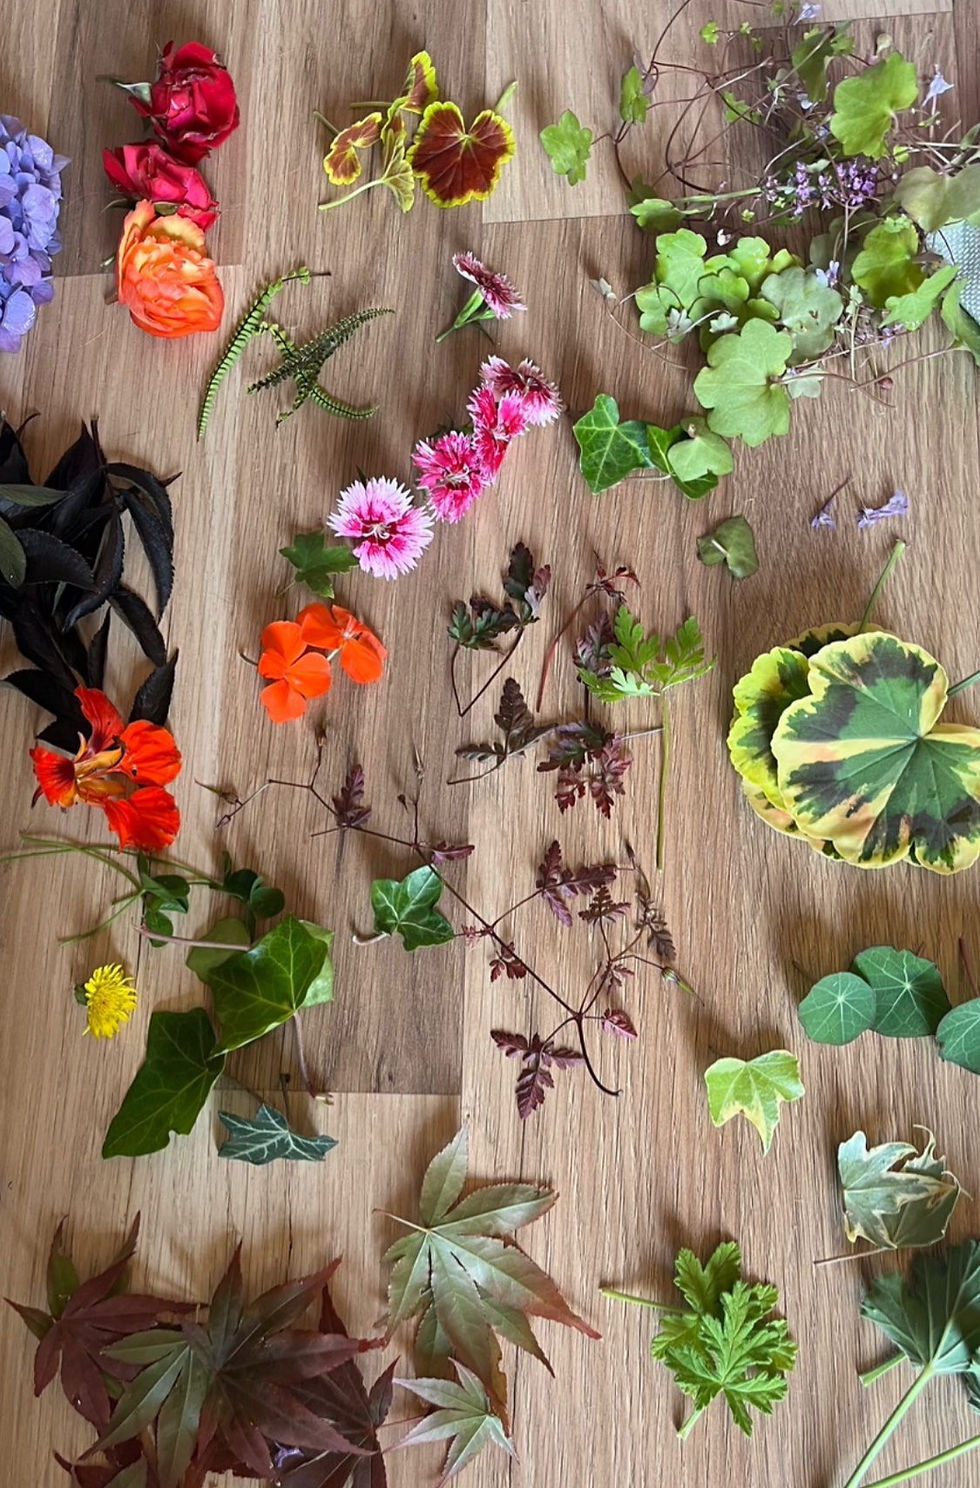
Collect a variety of fresh flowers and leaves with vivid colors. Flowers like roses, pansies, daisies, and leaves like ferns and eucalyptus work well. Remove any excess stems and make sure the flowers and leaves are relatively flat and not too thick.
Step 2: Set up your work area
Choose a flat and sturdy surface to work on, like a table. Cover it with old newspapers or a plastic tablecloth to protect it from flower juices. You can also use a cutting board as your work surface.
Step 3: Prepare the fabric
You need to treat the fabric with Alum or soy milk - theres loads of tutorials online so be sure to check them out! Place the fabric on your work surface and secure it in place using masking tape or painter's tape around the edges. Make sure it's taut and wrinkle-free for best results.
Step 4: Arrange the flowers and leaves
Lay out the flowers and leaves on the fabric in your desired pattern. Get creative and experiment with different arrangements to see what looks best. Keep in mind that the natural pigments will transfer from the flowers and leaves onto the fabric.
Step 5: Layering and protecting
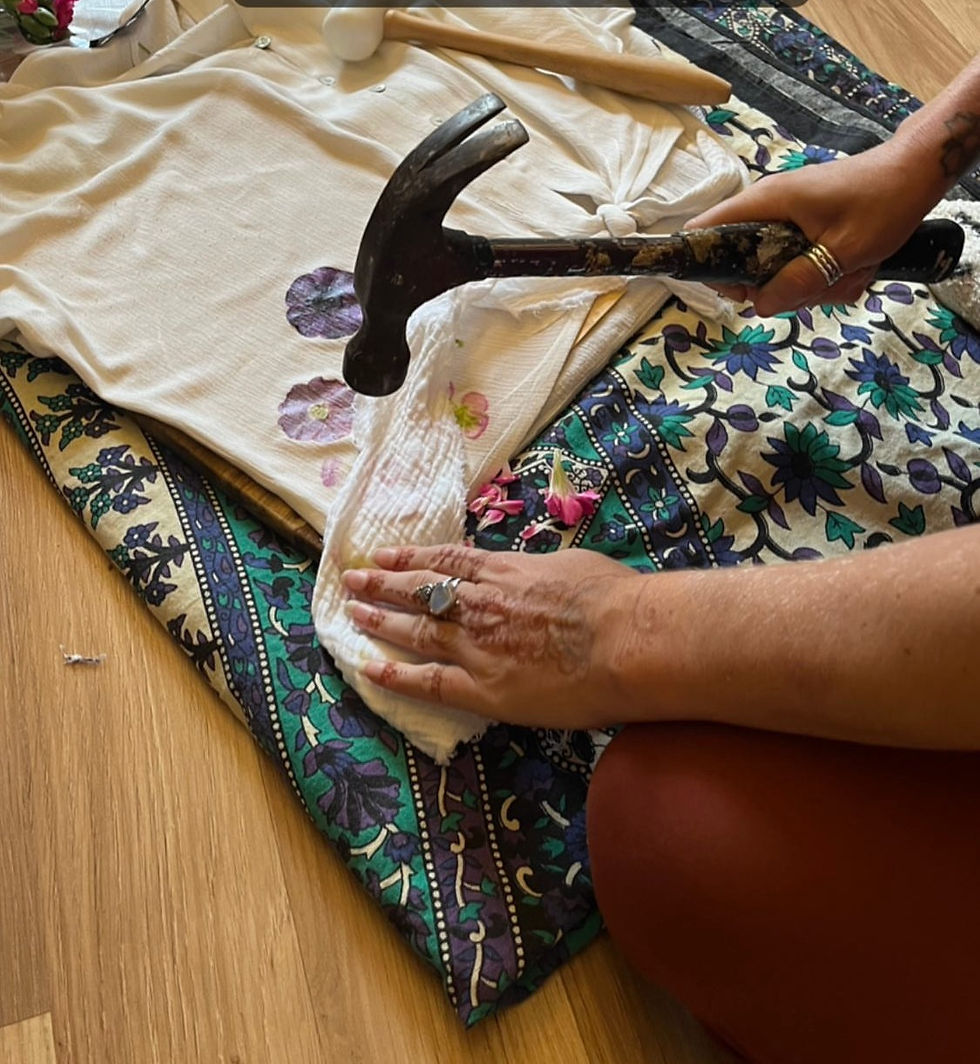
Once you're satisfied with the arrangement, place a sheet of parchment paper or wax paper over the flowers and leaves. We used scraps of fabric too which gave a nice effect. This will act as a protective barrier between the flowers and the hammer, preventing direct damage to the fabric and flowers.
Step 6: Flower pounding
Gently start pounding the flowers and leaves with a hammer. Be careful not to hit too hard to avoid tearing the fabric. The pounding process helps release the natural pigments from the flowers and transfers them onto the fabric. You'll start to see the colours being imprinted on the fabric.
Step 7: Check the imprint
After a few gentle pounds, carefully lift the parchment paper and check the imprints on the fabric. If you're satisfied with the results, you can move on to the next section. If you want more colour or detail, place the parchment paper back and continue pounding.
Step 8: Finishing touches
Once you're happy with the imprints, carefully remove the flowers and leaves from the fabric. You can now add any additional touches, such as hand-painting or embroidery, to enhance the design further. some leaves & flowers work better than others but it's unfortunately just trial & error!
Step 9: Drying and setting the design
Let the fabric dry completely. Once dry, place the fabric between layers of cardboard or heavy paper and press it with a warm iron. This helps set the pigments and ensures they don't wash out easily.
Step 10: Final steps
Once the fabric is fully dried and pressed, you can use it for various creative projects like making a wall hanging, pillowcase, tote bag, or framed artwork.
Always remember - flower pounding is an experimental art form, and results may vary depending on the flowers used, fabric type, and pounding technique. I encouraged our team to have fun and explore their creativity during the workshop, don't get too attached to desired results & just enjoy the process!
OH! And watch your fingers! :p





Comments